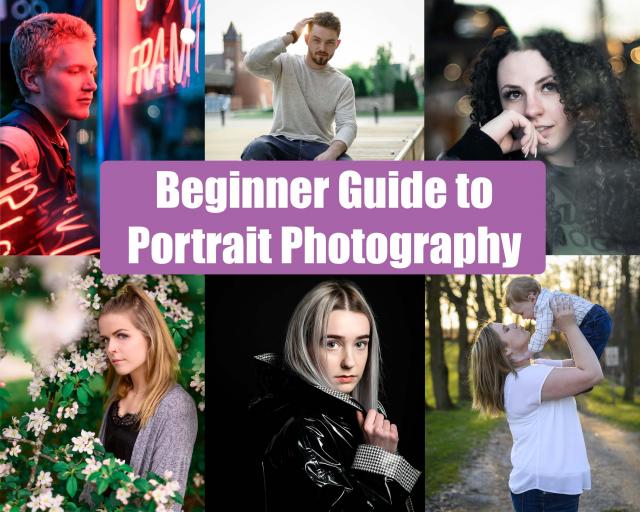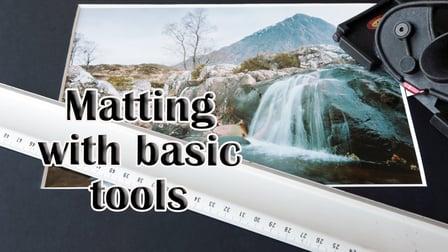
Learn Picture Matting with Basic Tools. If you have many hundreds or perhaps thousands of photographs saved to a computer hard drive but would like to see them hang on your walls this class is for you. You will learn to pick the correct Mat colour, how to size the Mat and how to cut the Mat using inexpensive tools.
This will ensure you get the exact look your after when decorating your home. It will also save you time and money.
In this class you’ll learn:
- What tools you need and How to use them safely.
- How to choose the Mat Colour.
- How to measure the Mat window for your artwork
- How to use the 45 Deg cutter..
- How to cut the Mat window for perfect results.
- How to fix your artwork to the Mat without damaging it.
You will create a tasteful Mat insert to help show off your art work.
Even if you’re new to image matting you’ll find these simple and effective skills easy to apply to your project.
Select a mat the colour of your choice. Using the tools you have cut a mat that has your artwork / photograph in the middle of the mat. The distance from top and bottom should be the same and distance from left and right should also be the same.


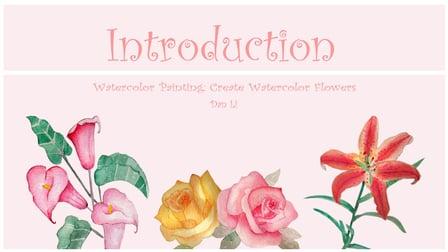
![Paint an Easy Christmas Candy Cane with Watercolor [ Line Art Template Included] (Skillshare)](https://www.mooc-list.com/img/node-12637.jpg)